Assigning permissions on mapping rules
This guide explains how to assign users, groups, or roles permission to manage specific mapping rules. To learn how to create mapping rules themselves, see Managing Mapping Rules.
To learn more about the concept of mapping rules, see the mapping rules documentation.
- Log in to the Identity UI and navigate to the Authorizations tab.
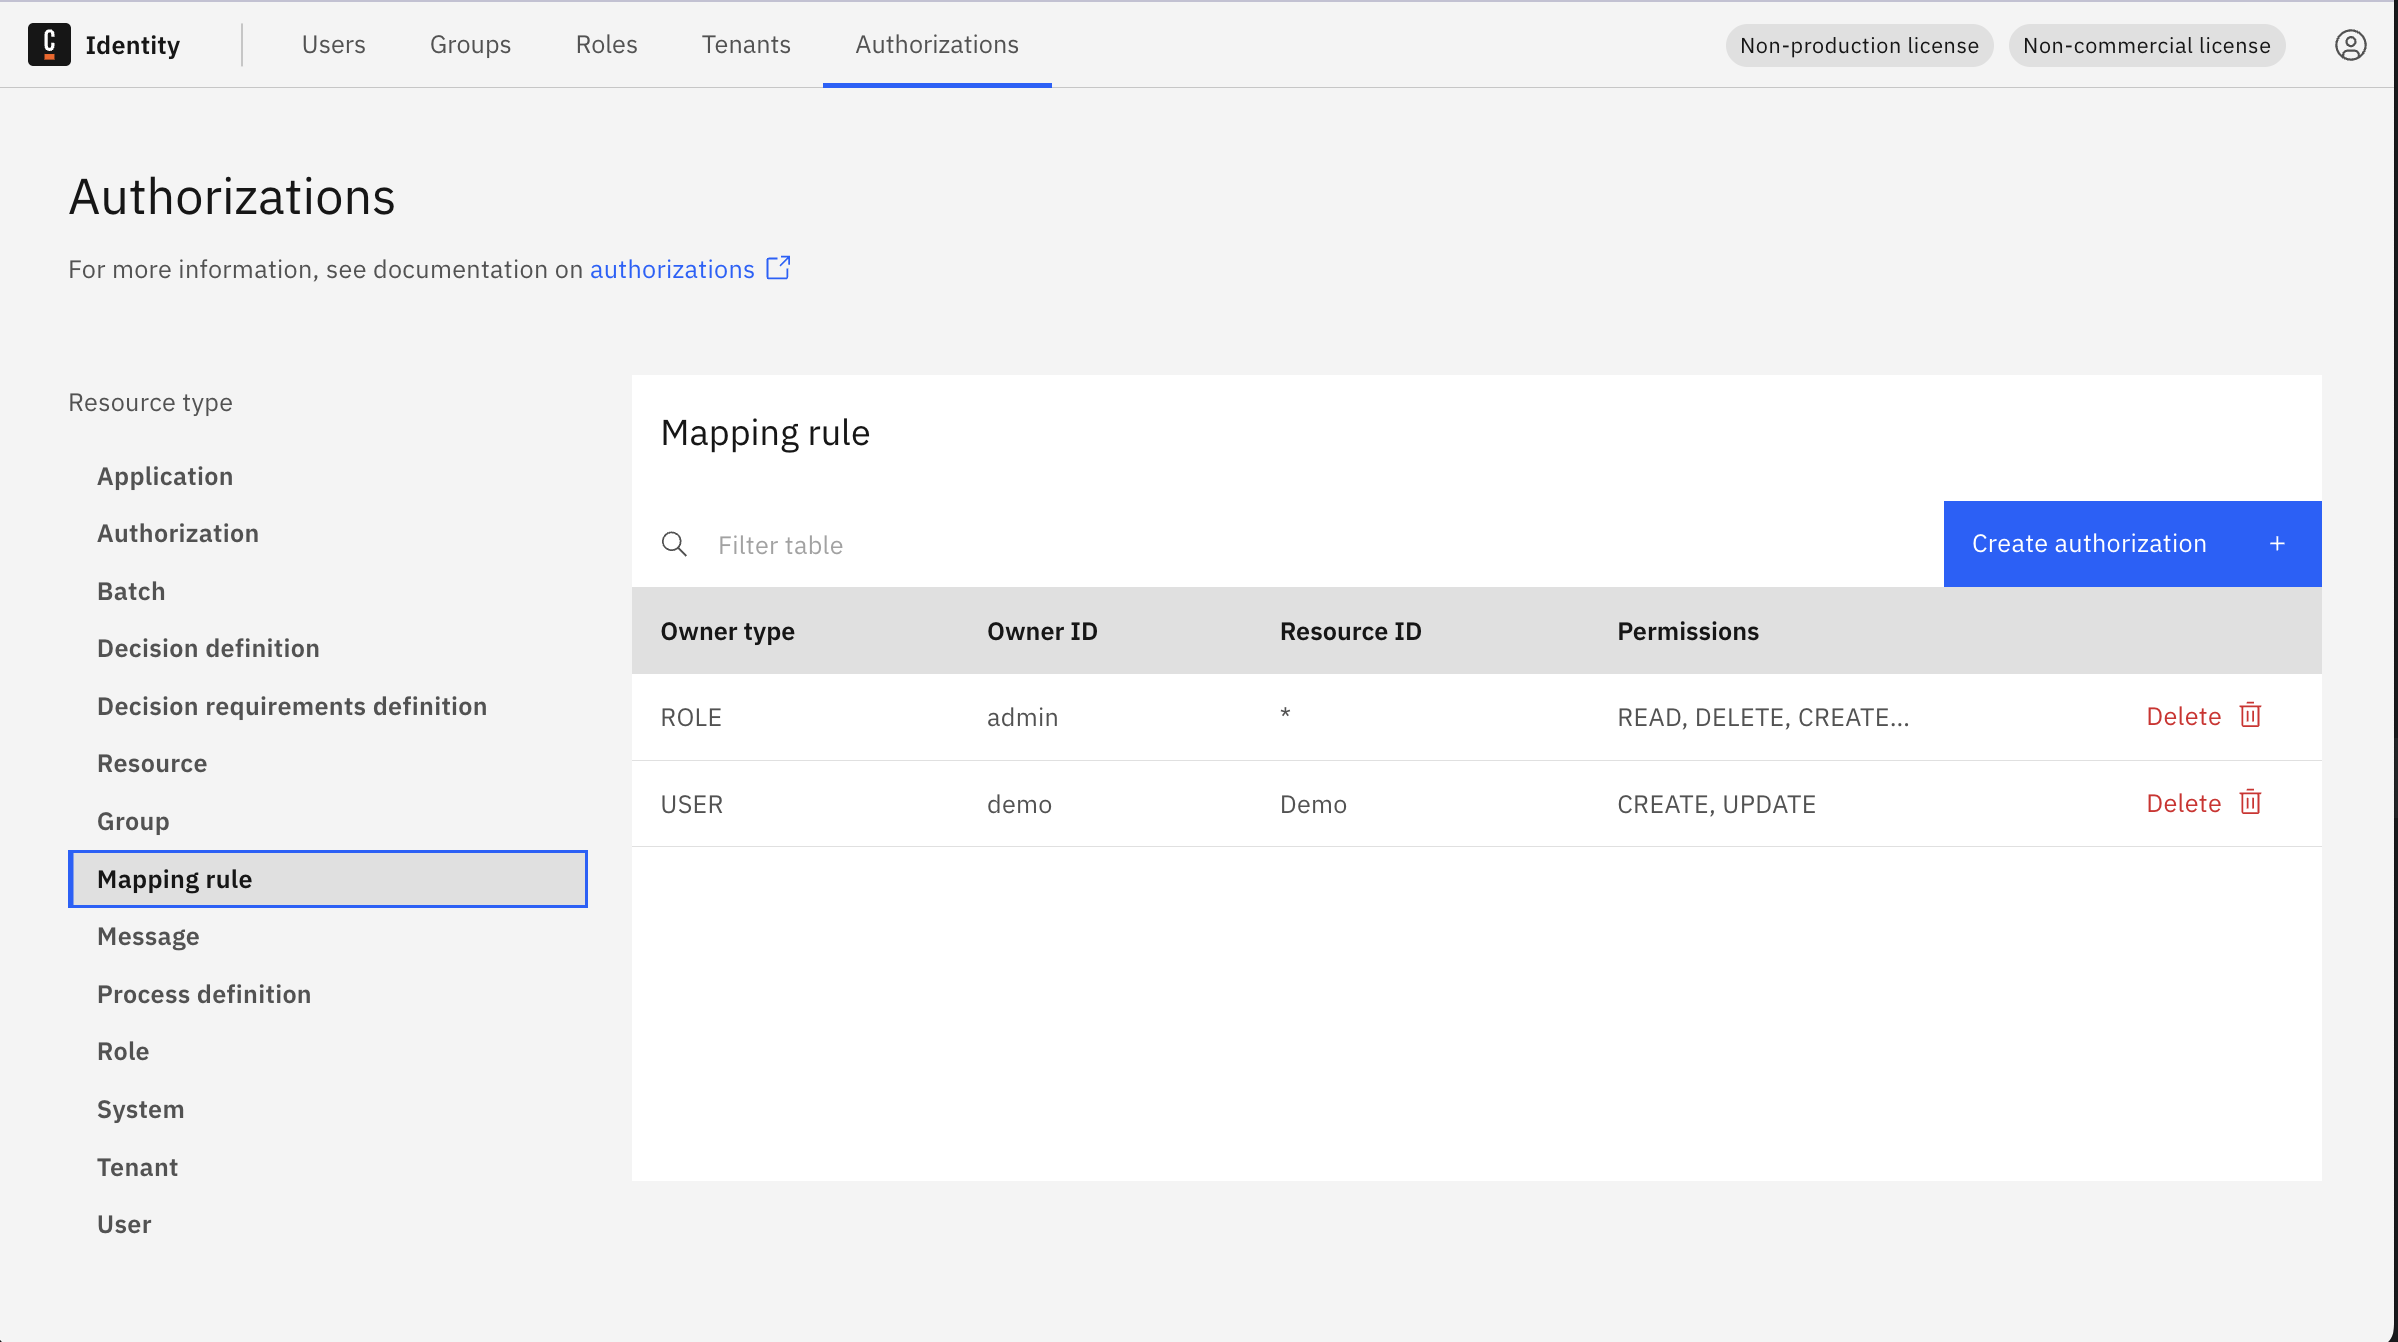
- In the left sidebar, select Mapping rule as the resource type.
The Default mapping rule is created during startup using the IDENTITY_INITIAL_CLAIM_NAME and IDENTITY_INITIAL_CLAIM_VALUE environment variables.
This allows the first user to access the Identity UI. Afterward, you can configure additional rules for user access to Camunda components.
- Add
- Update
- Delete
Add a mapping rule
-
Click Create authorization.
-
In the modal, set the following:
- Owner type: User / Group / Role
- Owner: Select the specific owner
- Resource type:
Mapping rule - Resource ID: Enter a unique resource ID
- Permissions: Select one or more (Create, Read, Update, Delete)
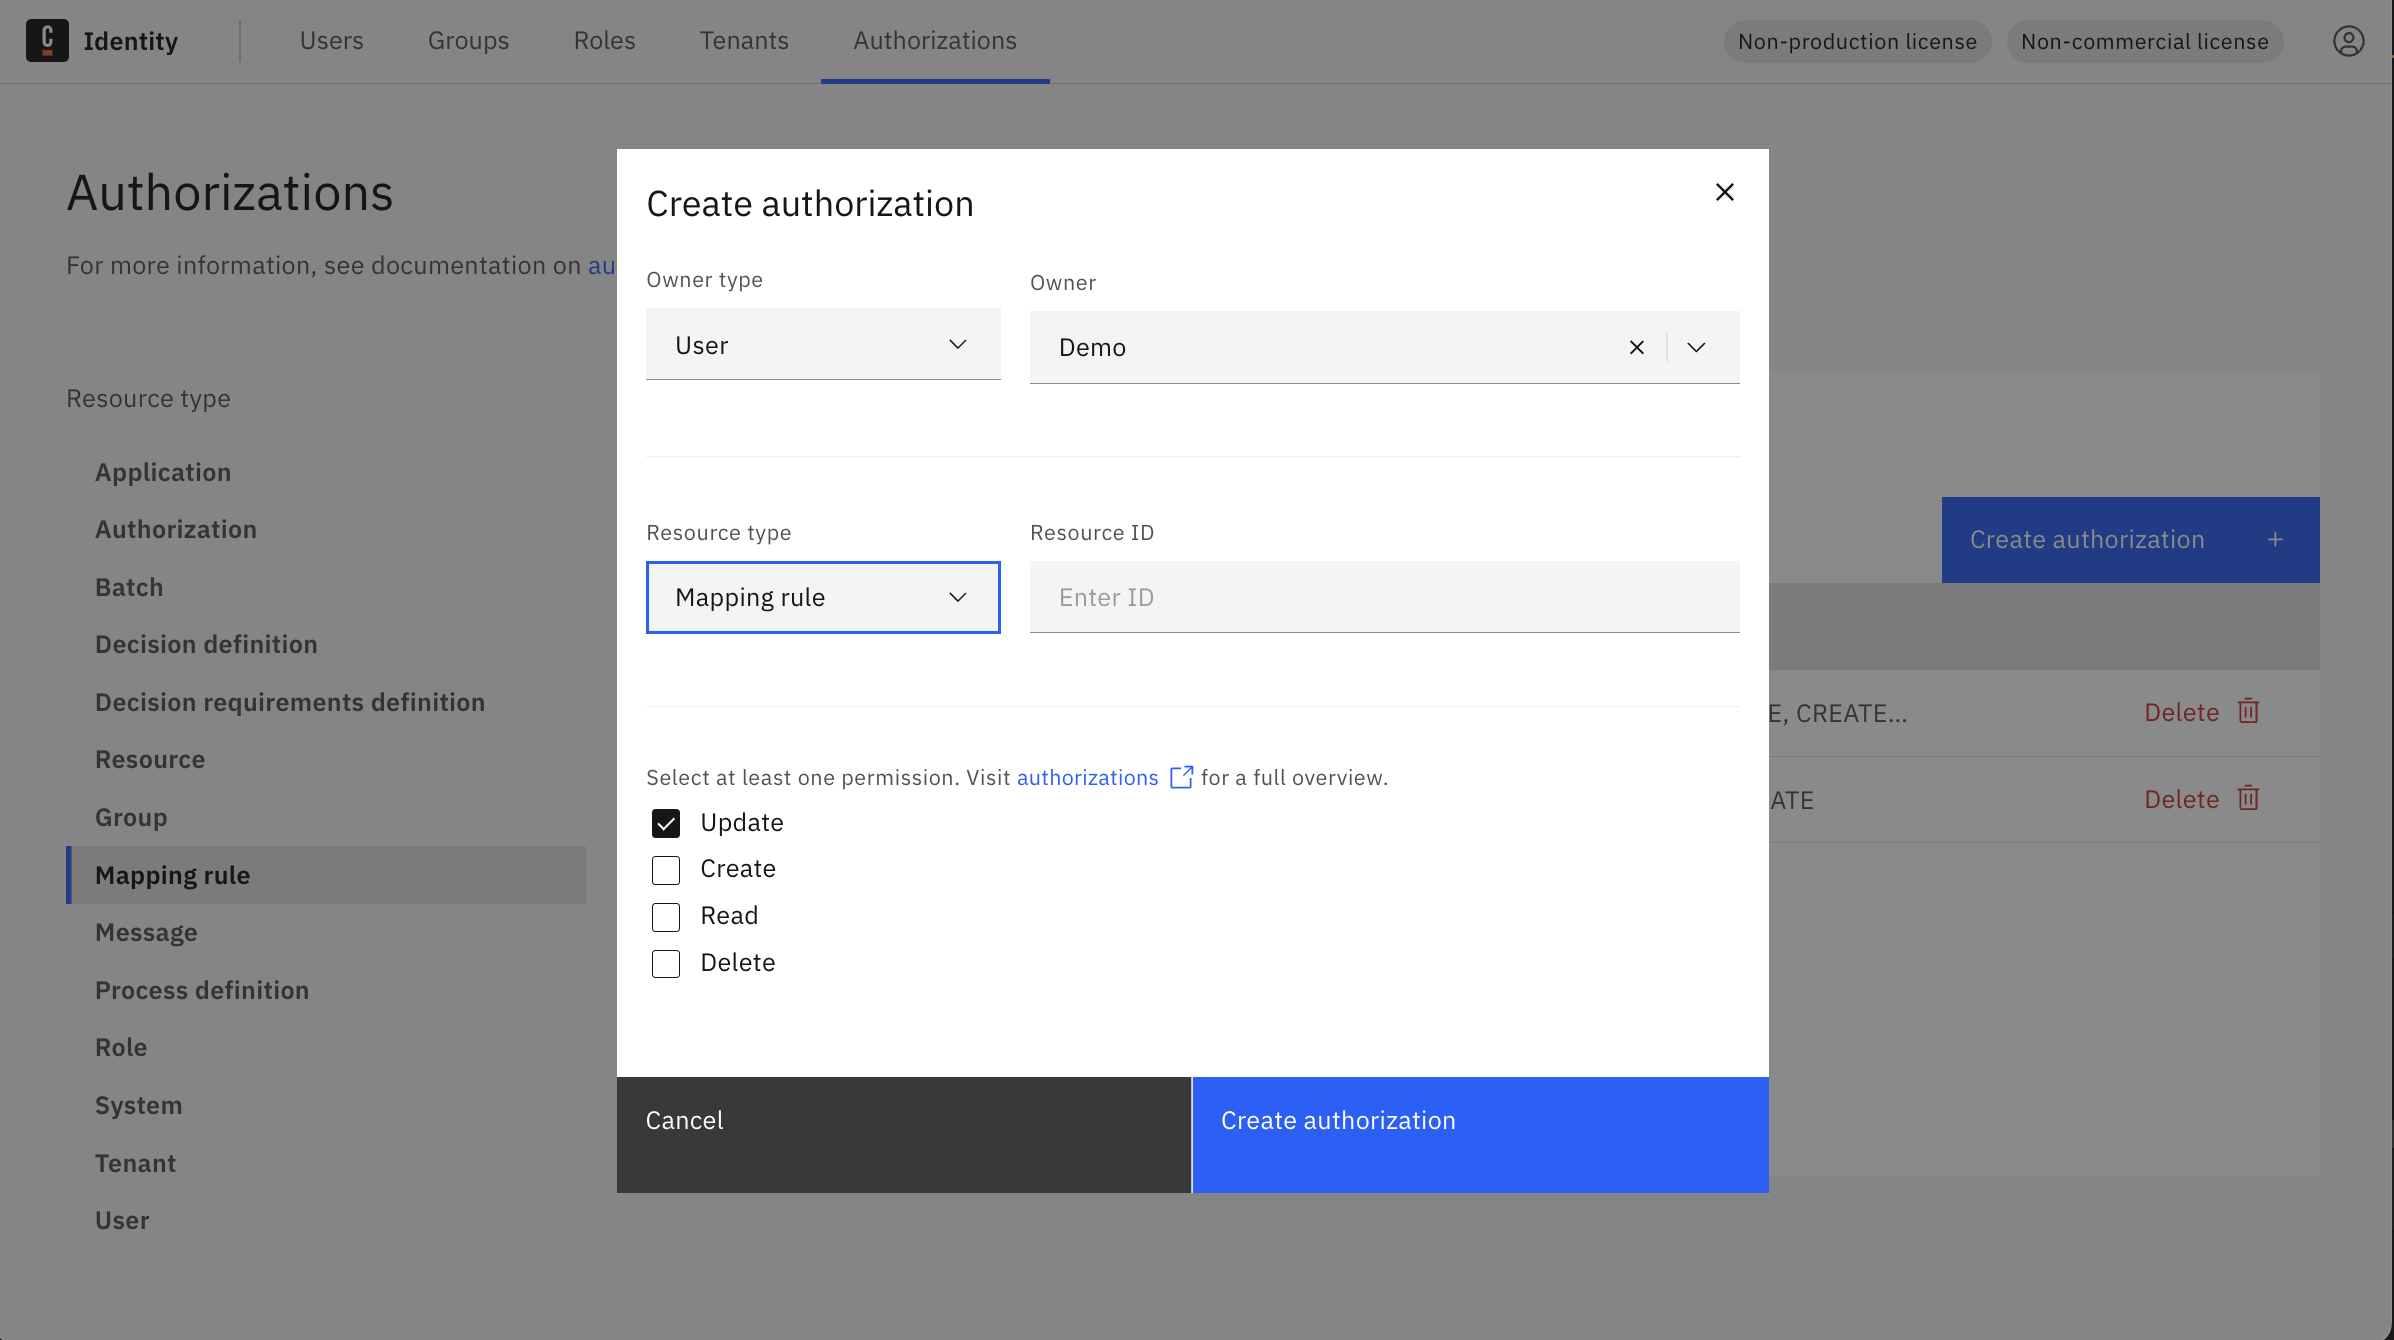
- Click Create authorization to save the mapping rule.
Update a mapping rule
-
In the Authorizations table with Mapping rule selected, click Delete next to an existing rule (update is done by removing and re-adding with changes).
-
Recreate the rule with updated values using the Add tab steps above.
Currently, rule updates are handled by deleting and re-creating the authorization with modified values.
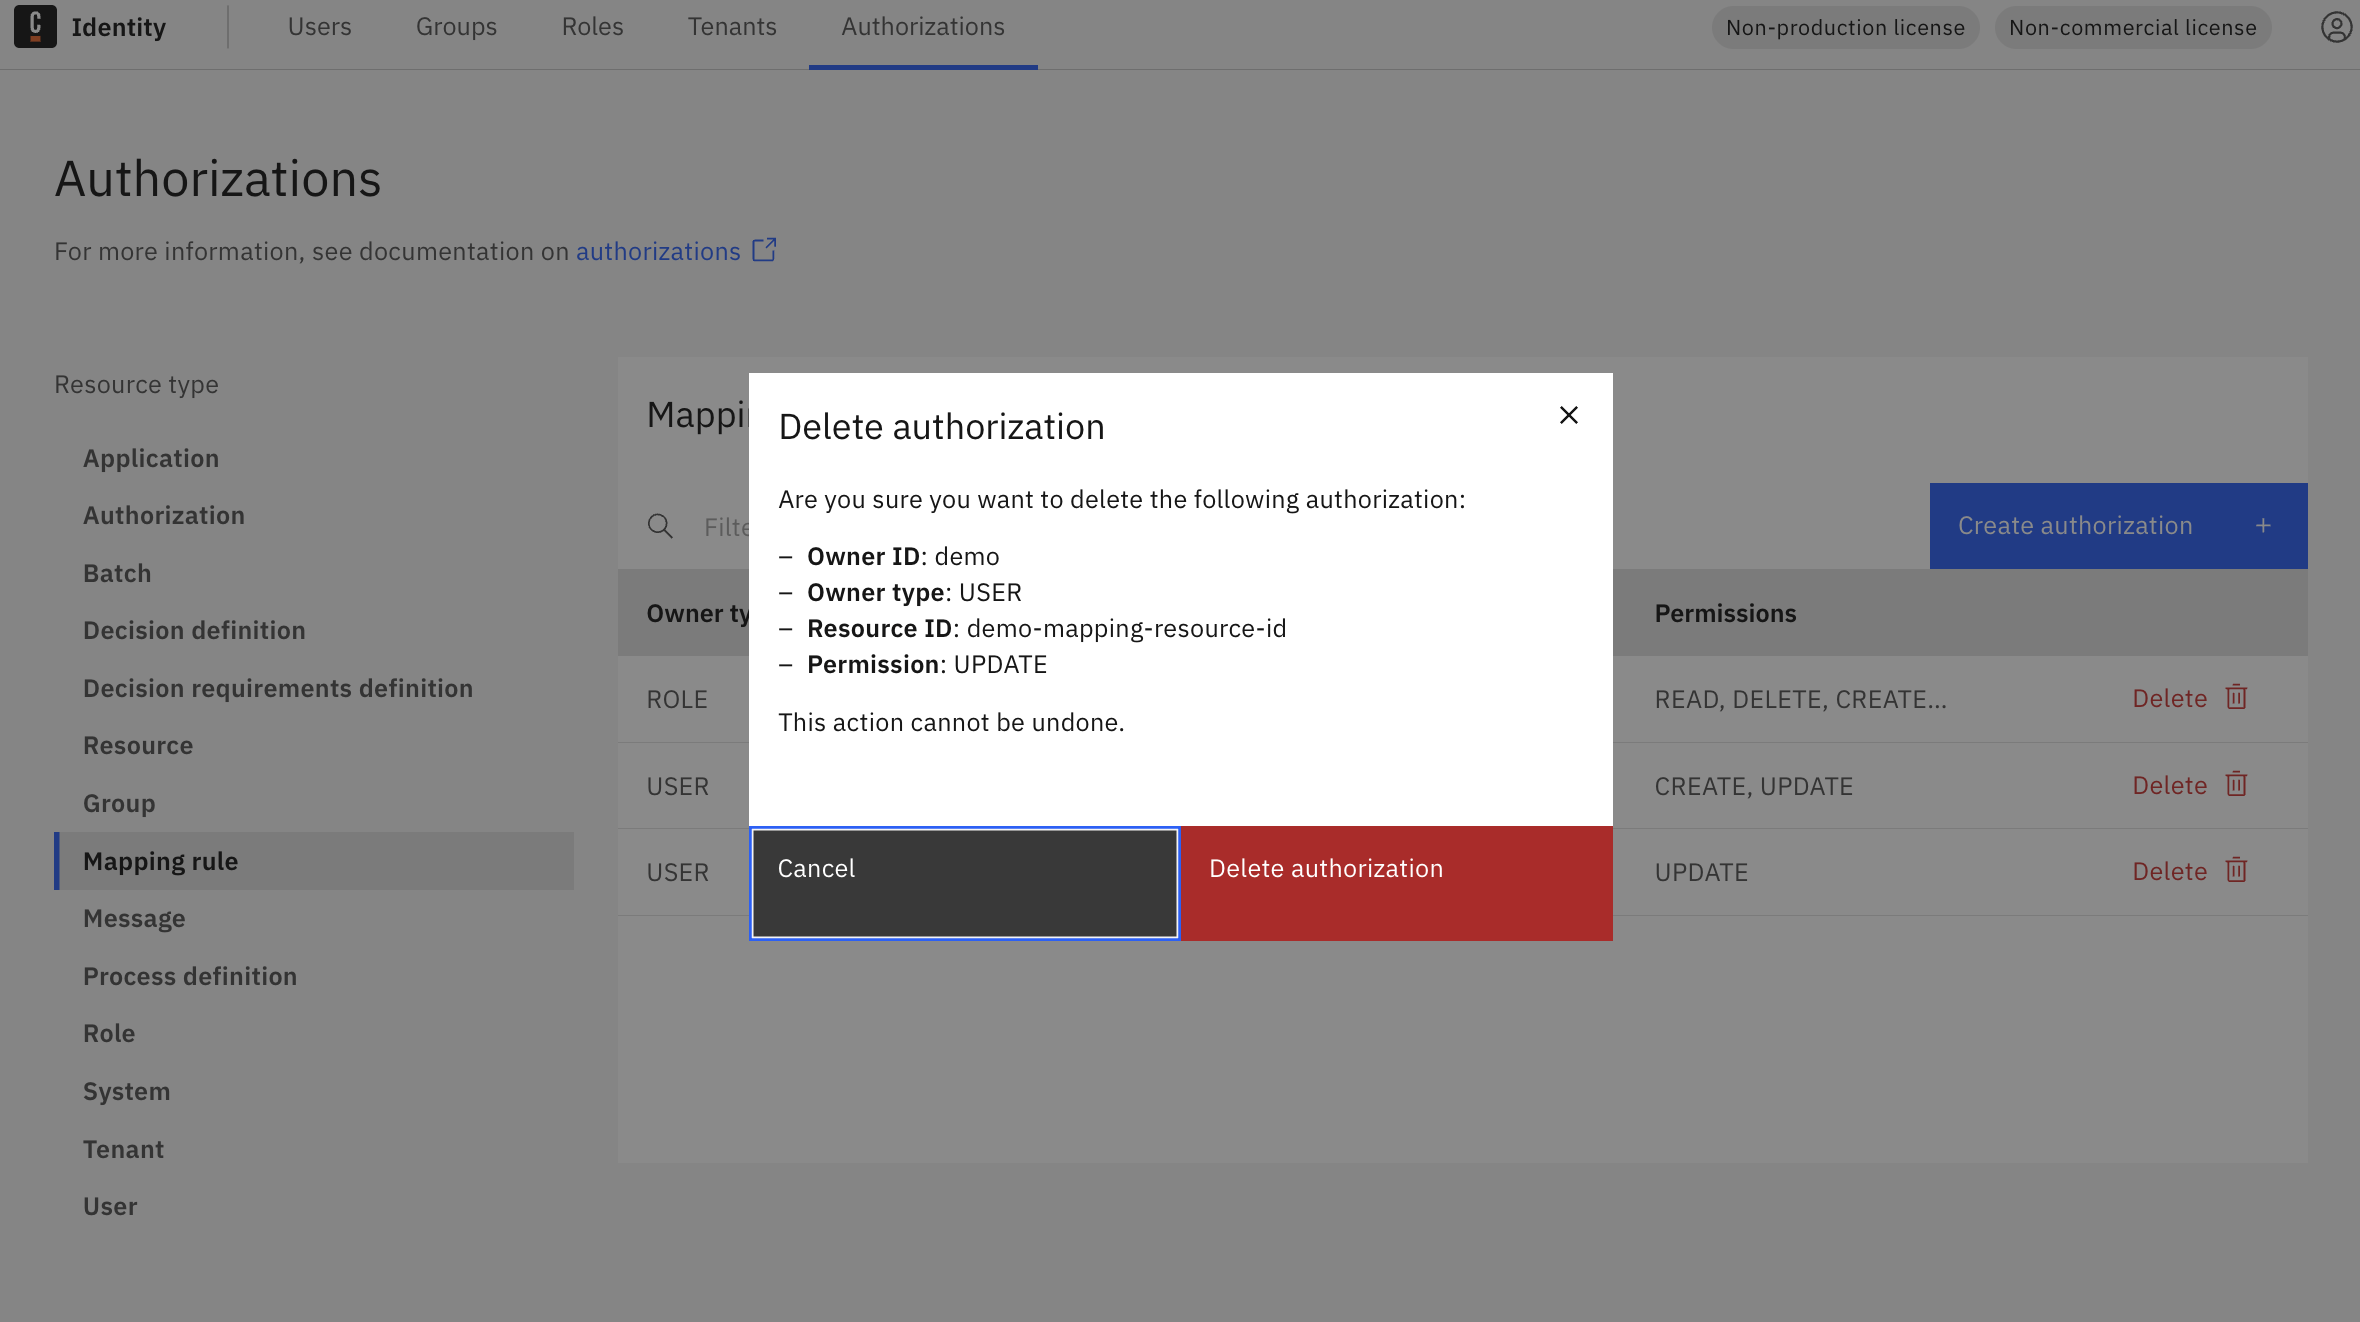
Delete a mapping rule
-
Navigate to the Authorizations tab with Mapping rule selected as the resource type.
-
Click the Delete button on the rule you want to remove.