Manage mapping rules
In this guide, you will learn how to manage mapping rules in Identity and how to control the Camunda entities related to them.
tip
To learn more about the concept of mapping rules, see the mapping rules documentation.
You can manage mapping rules from the Mapping rules tab in Identity.
- Add
- Update
- Delete
Add a mapping rule
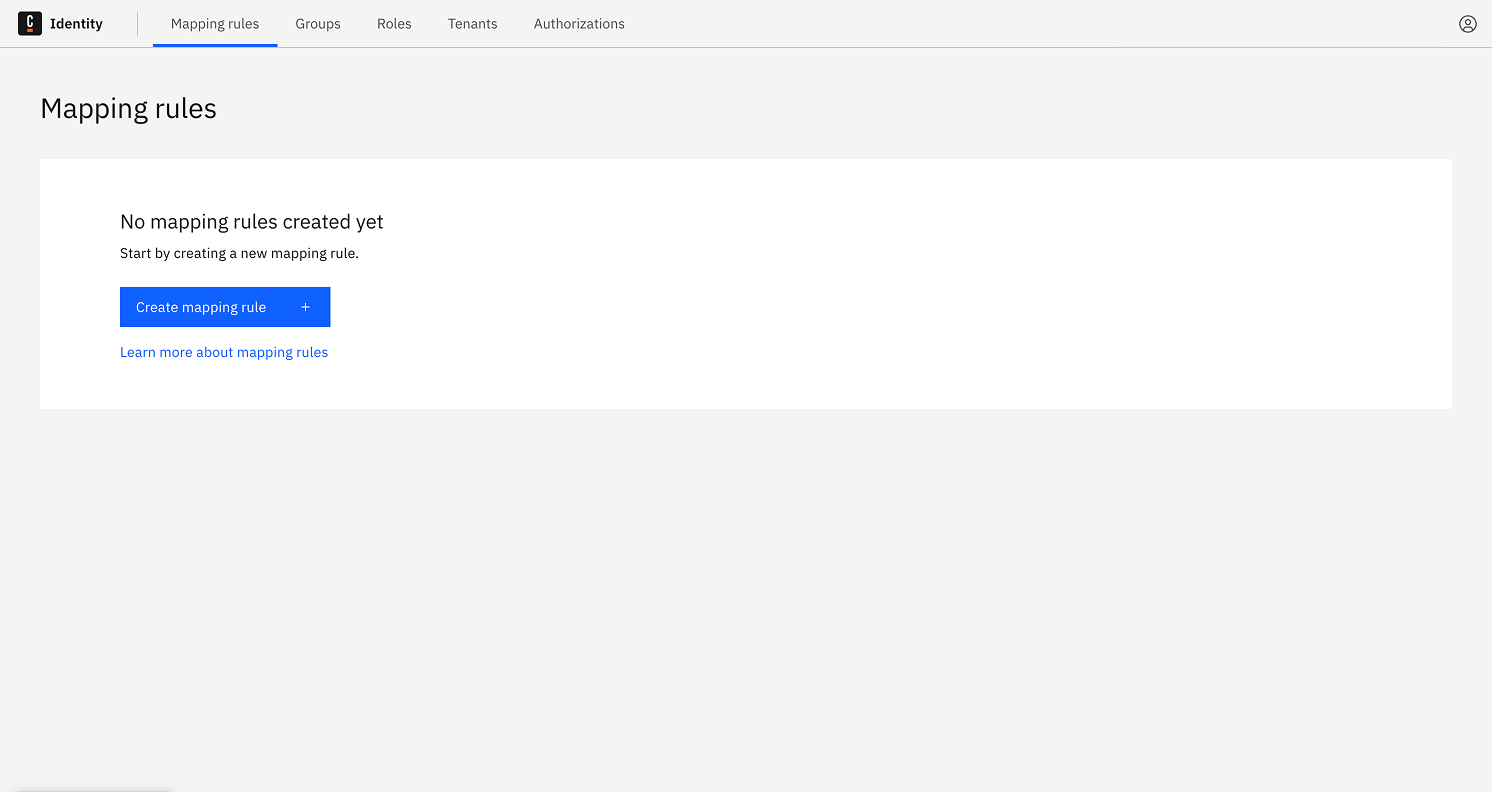
- By default, Identity doesn't have mapping rules created.
-
Click the Create a mapping rule button.
-
Fill in the required fields:
- Mapping Rule ID: A unique identifier for the mapping rule.
- Mapping Rule name: A user-friendly name.
- Claim name and Claim value: These define the JWT claim rule to match.
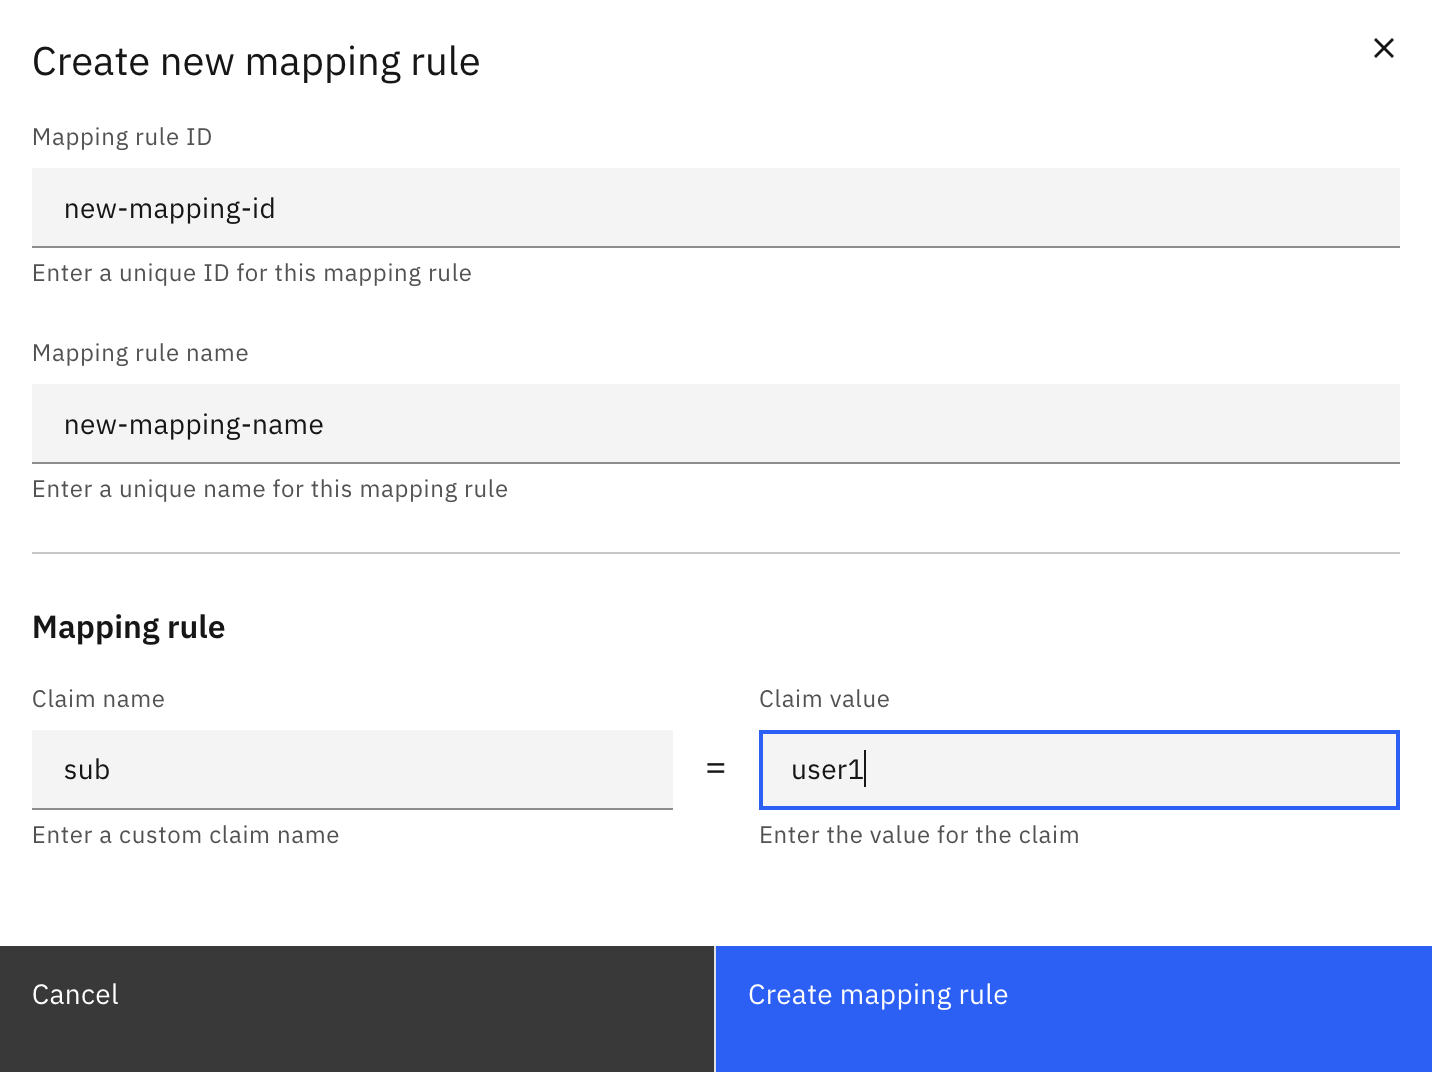
- Click Create a mapping rule to save.
The new mapping rule will appear in the list.
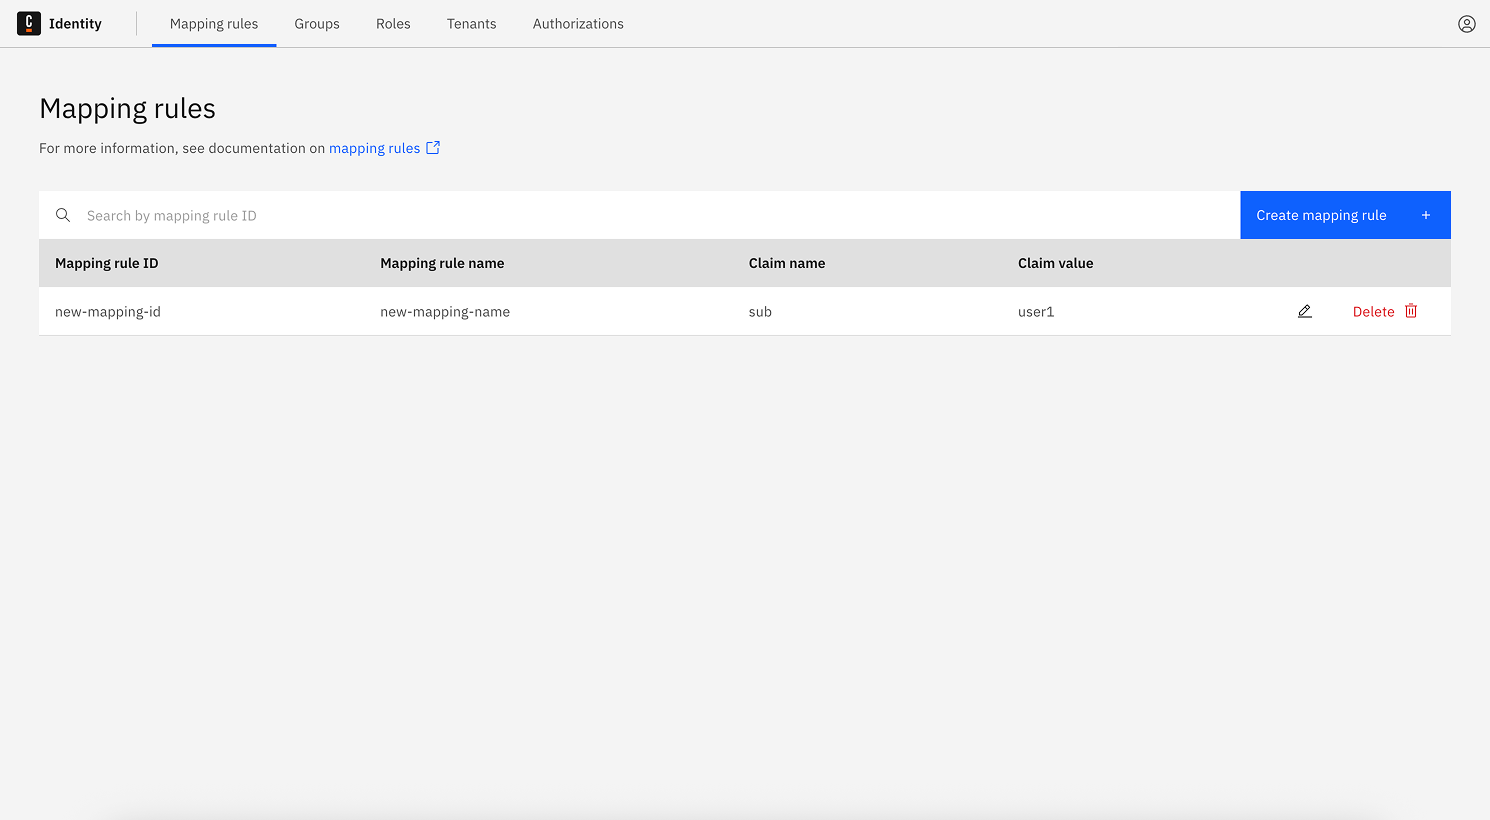
After the mapping rule is created, you can assign authorizations or associate it with a tenant.
Update a mapping rule
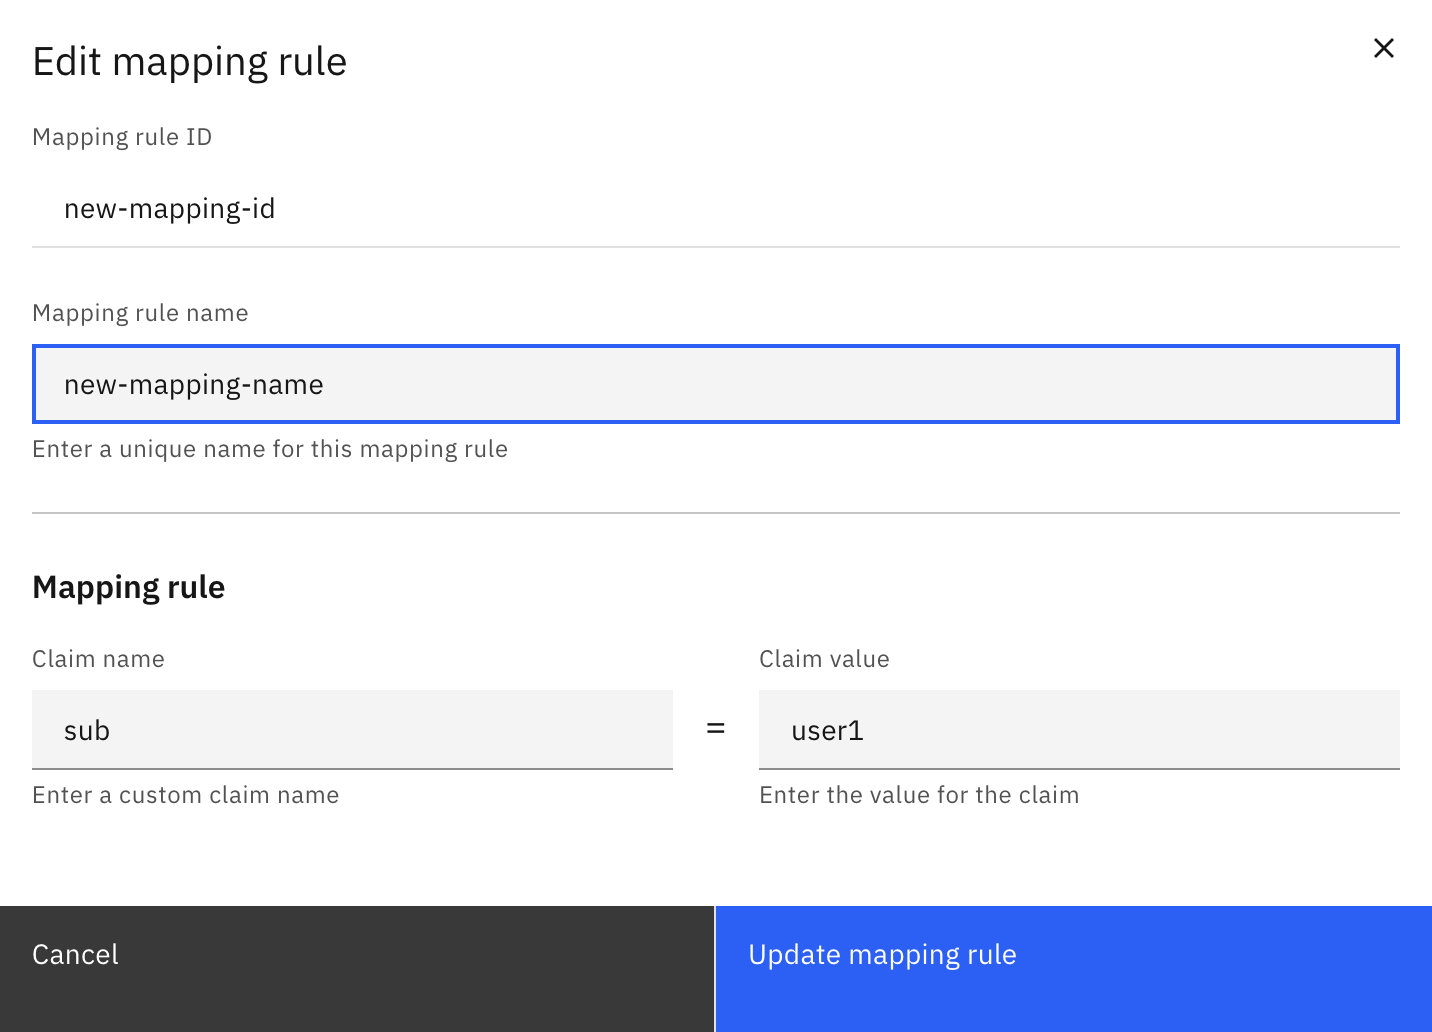
- Click the Edit button in the mapping rule row you want to edit.
![]()
- Update the desired fields and click Update Mapping Rule.
Delete a mapping rule
-
Click the Delete button on the row of the mapping rule you want to delete.
-
Confirm the deletion in the pop-up.
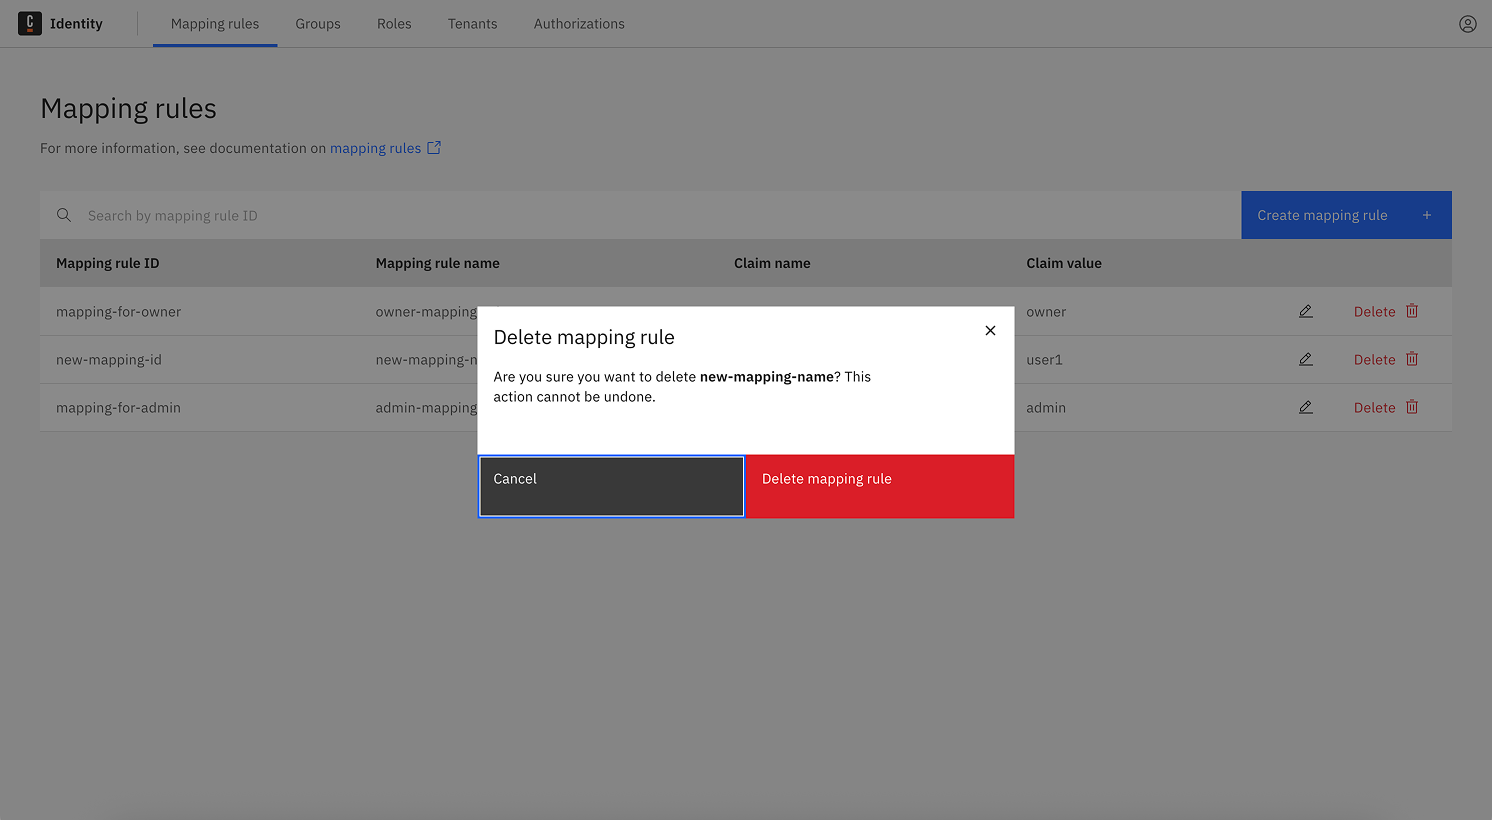
After confirming, the rule is deleted and disappears from the table.