Create a cluster
To deploy and run your process, you must create a cluster in Camunda 8.
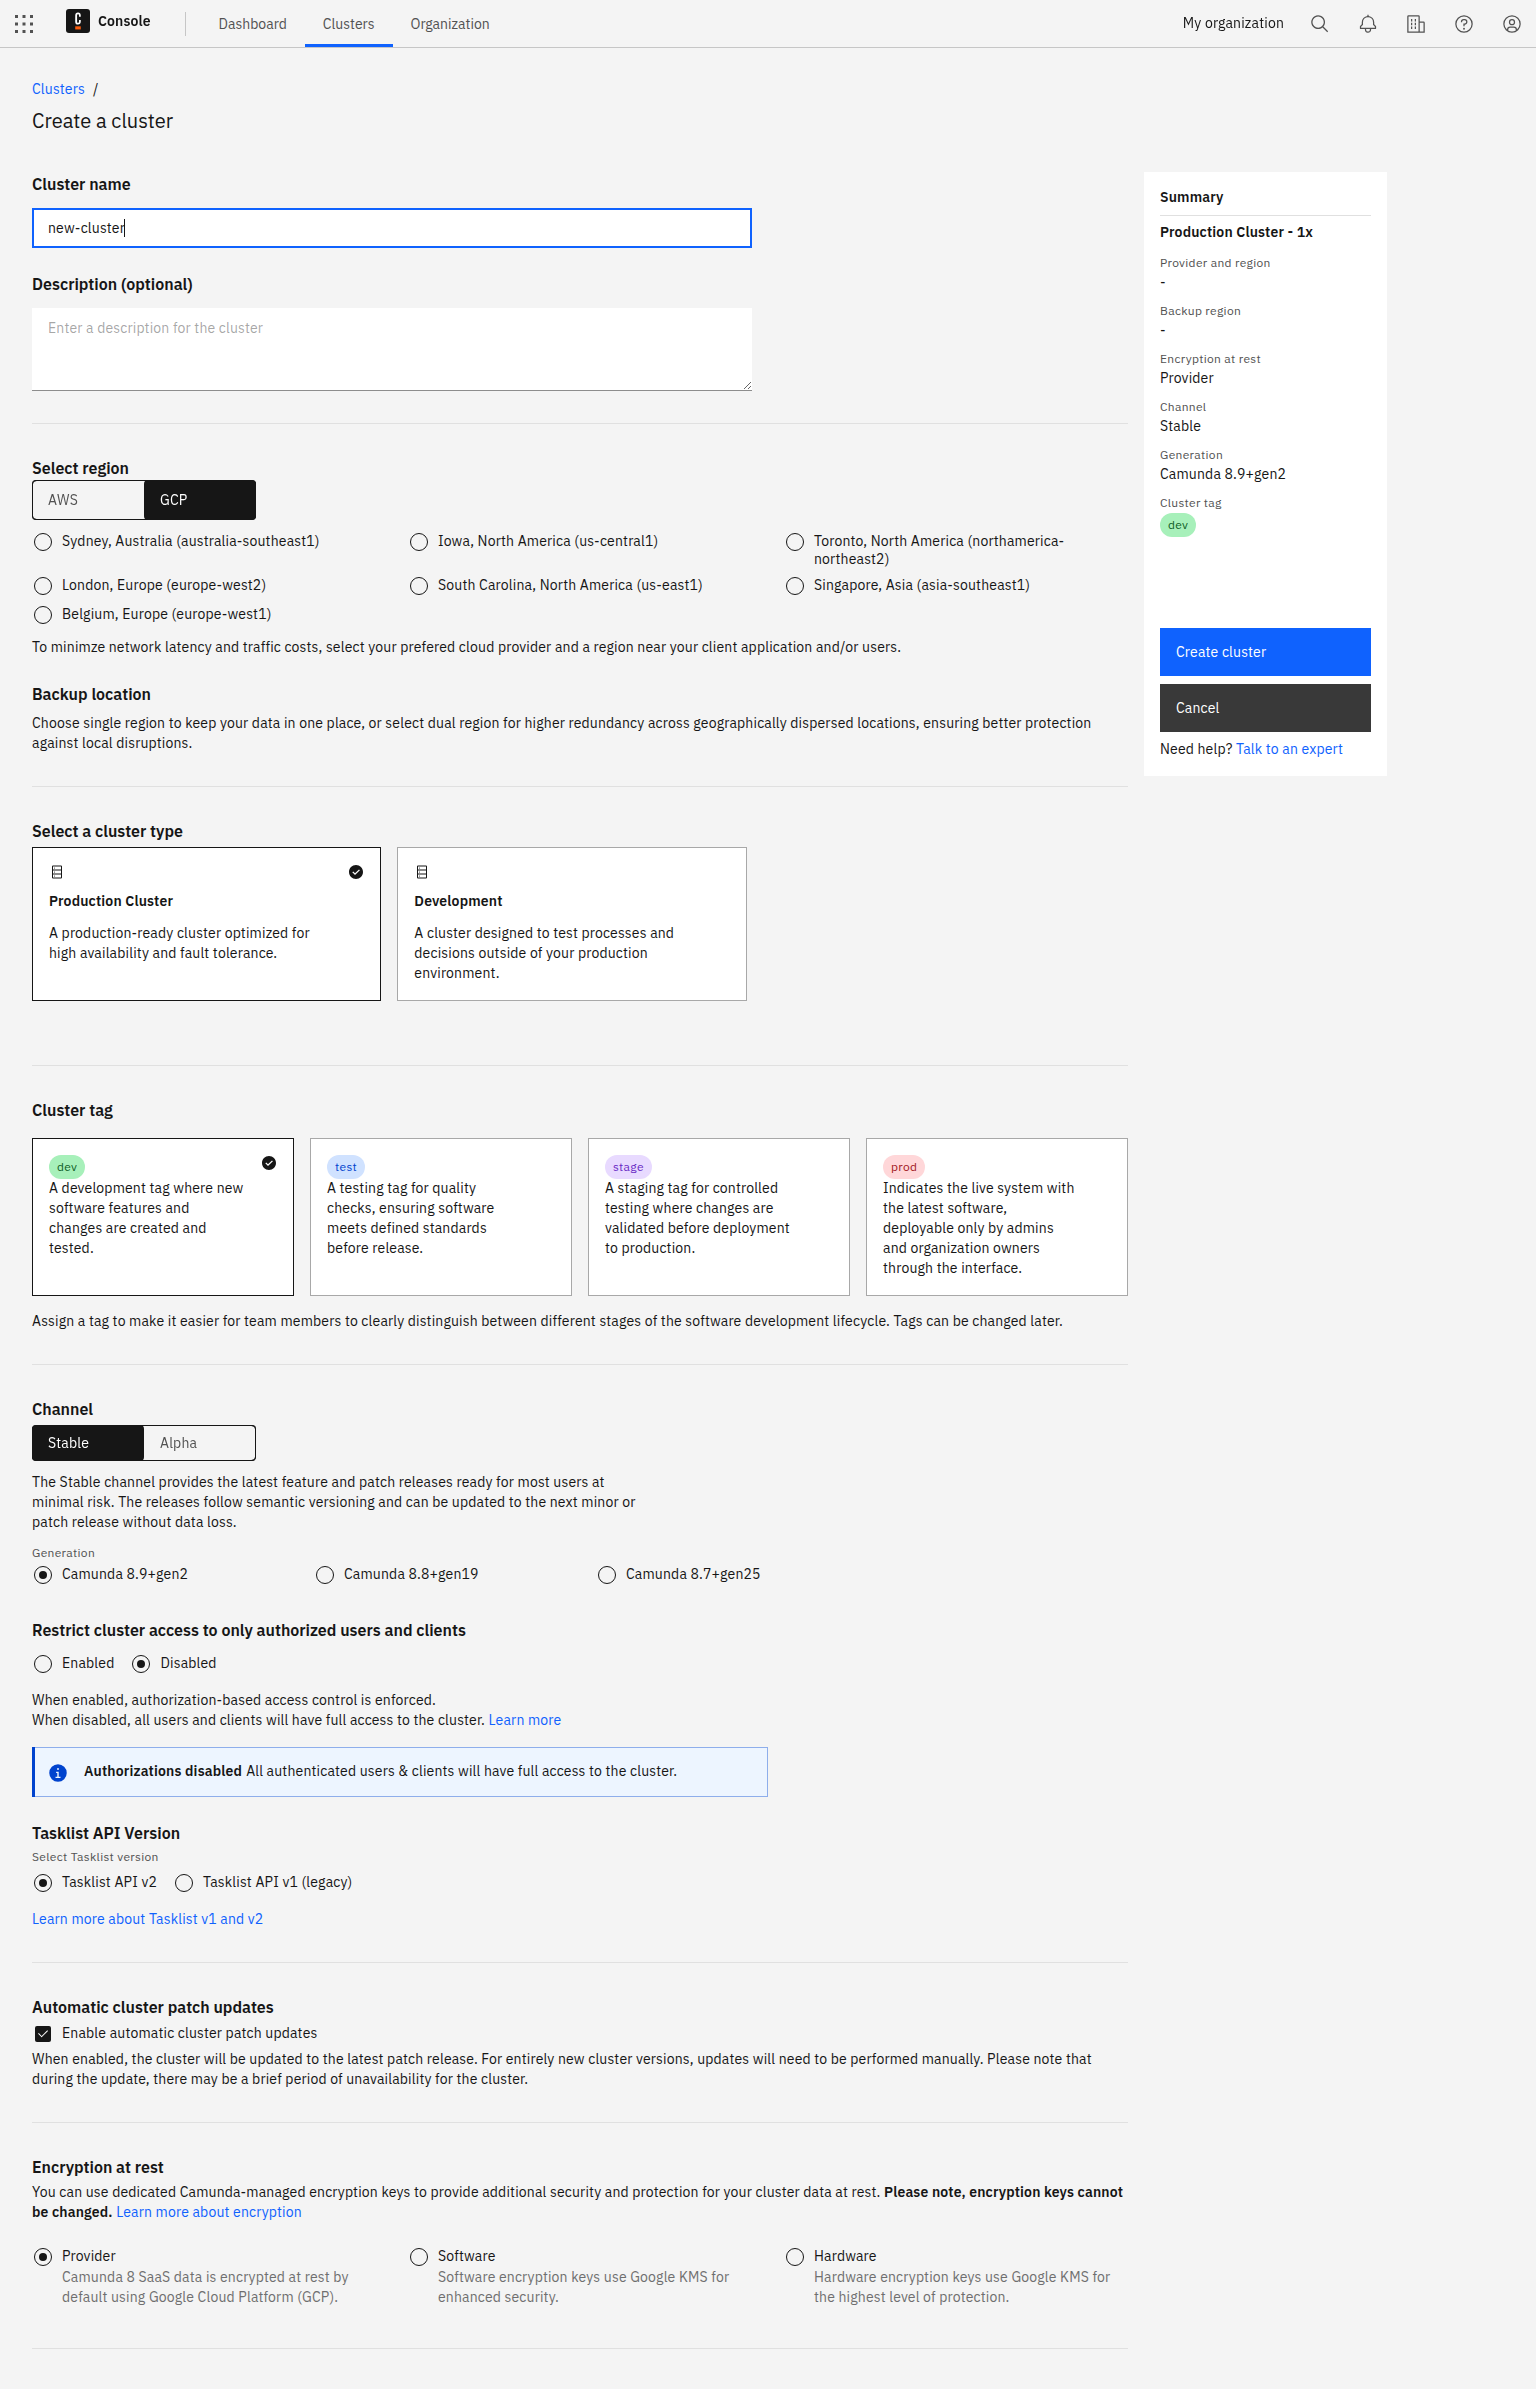
- To create a cluster, navigate to Camunda Hub, click the Clusters tab, and click Create new cluster.
- Name your cluster.
- Select a cluster type and cluster size.
- Assign a cluster tag to indicate what type of cluster it is.
- Select your region.
- Select your encryption at rest protection level (enterprise only).
- Select a channel and release. For the purpose of this guide, we recommend using the Stable channel and the latest generation.
- If you are using a generation of version 8.8 or higher, select if you want to enable authorization-based access control.
- Click Create cluster.
- Your cluster will take a few moments to create. Check the status on the Clusters page or by clicking into the cluster itself and looking at the Applications section.
note
- If you haven't created a cluster yet, the Clusters page will be empty.
- You can start modeling even if the cluster shows a Creating status.
-
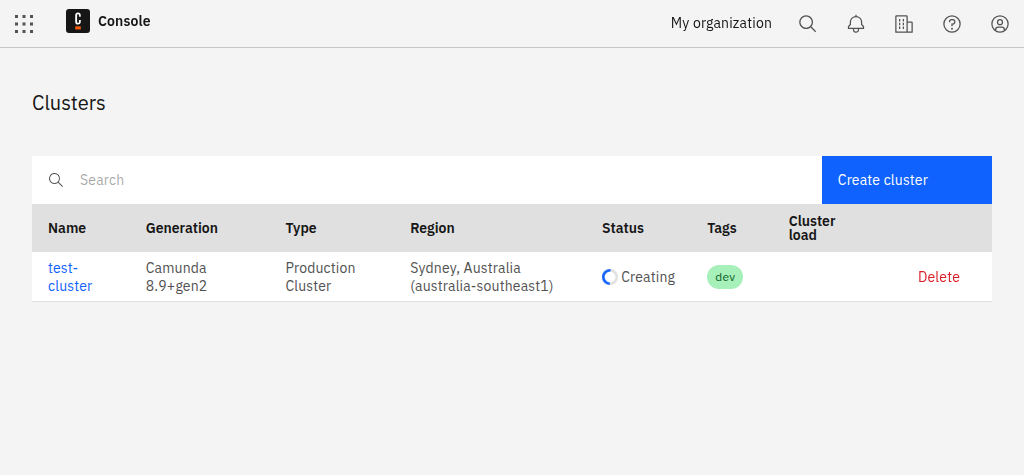
After creating the cluster, you can view the new entry in the Clusters tab:
-
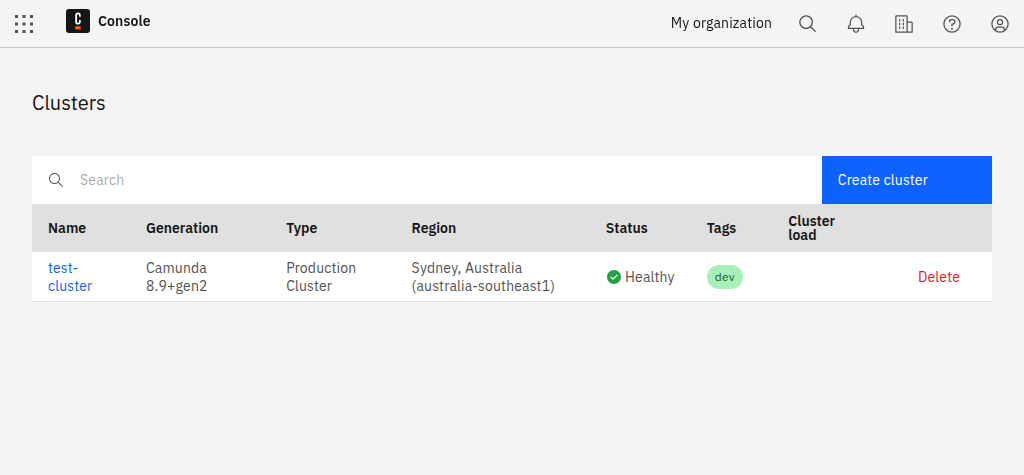
The cluster is now being set up. During this phase, its state is Creating. After one or two minutes, the cluster is ready for use and changes its state to Healthy:
-
After the cluster is created, click on the cluster name to visit the cluster detail page.
Tag your cluster
You can tag your cluster for dev, test, stage, or prod.
- Assigning a tag makes it easier for team members to clearly distinguish between different stages of the software development lifecycle.
- Tags have no impact on performance and can be changed later in the cluster details section of the cluster overview page.
- Authorization-based access control is disabled by default for
devandtestclusters, and enabled forstageandprodclusters. You can change this setting during and after cluster creation.
See Clusters for more details.